§ How-To
Chainsaw Chain Tension Keeps Loosening — Why and How to Fix
Very common: chain sags after 5 minutes of cutting, tensioner screw stripped, bar clamp not holding
Published · Last updated:
A chainsaw chain that keeps loosening is more than an annoyance—it cuts poorly, wears the bar and sprocket faster, and can become a real safety issue if it starts to derail. This question comes up often in owner forums, especially from rural homeowners cutting firewood and part-time loggers running older saws hard. Usually the problem is not just “the chain stretched.” In most cases, repeated loosening points to heat expansion during break-in, incorrect adjustment technique, worn bar hardware, or a tensioner and clutch cover that are no longer holding the bar securely. Here’s how to diagnose it properly and fix the root cause.
Start With the Most Common Cause: Normal Chain Stretch and Incorrect Tensioning
A brand-new chain almost always needs frequent readjustment during its first few cutting sessions. The rivets and tie straps seat in, the chain heats up, and what feels correct in the shop can sag badly after 5 minutes in wood.
Before chasing damaged parts, make sure the chain is being tensioned the right way:
-
Let the saw cool before final adjustment.
A hot chain expands. If you tighten it when hot and then let it cool, it can become overly tight and wear the bar and crank bearings. If you adjust cold, expect one or two touch-ups early in use. -
Loosen the bar nuts slightly, not completely.
The guide bar has to move for the tensioner to work, but the clutch cover should still keep things aligned. -
Lift the bar nose up while adjusting.
This is the step many owners miss. If you tension the chain with the bar nose hanging down, the chain will go slack as soon as the saw is lifted into cutting position. -
Turn the tensioner until the drive links seat in the bar groove but the chain still pulls by hand.
You should be able to pull the chain around with a gloved hand. It should snap back into the groove, not hang loose underneath the bar. -
Keep the bar nose lifted and then tighten the bar nuts firmly.
If you tighten with the bar unsupported, the clamp may settle and the chain will loosen quickly.
If your chain sags after just a few minutes every time, especially with a newer chain, that may still be normal early on. But if it keeps happening after repeated use, move on to the hardware checks below.
Check Whether the Chain, Bar, and Pitch Match Correctly
A surprising number of “won’t hold tension” complaints turn out to be a mismatch between the chain, guide bar, and drive sprocket. Even if the chain seems to fit, the wrong pitch or gauge can ride poorly in the bar groove and feel impossible to keep adjusted.
Verify these three specs:
- Pitch: Common sizes are .325”, 3/8”, low-profile 3/8”, and .404”
- Gauge: Common sizes are .043”, .050”, .058”, and .063”
- Drive link count: Must match the bar length and bar design
Check the stamp on the guide bar and compare it to the chain packaging or chain markings. If the chain gauge is too narrow for the groove, it can rock side to side and appear loose. If the gauge is too thick, it may not seat fully and will bind. Either condition creates poor tension control and rapid wear.
Also inspect the chain itself:
- Stiff or damaged links can create uneven tension around the loop
- Badly worn drive links won’t ride consistently in the groove
- Poor-quality aftermarket chains sometimes stretch faster than expected
- Overheated chains from dull cutters or inadequate oiling often elongate prematurely
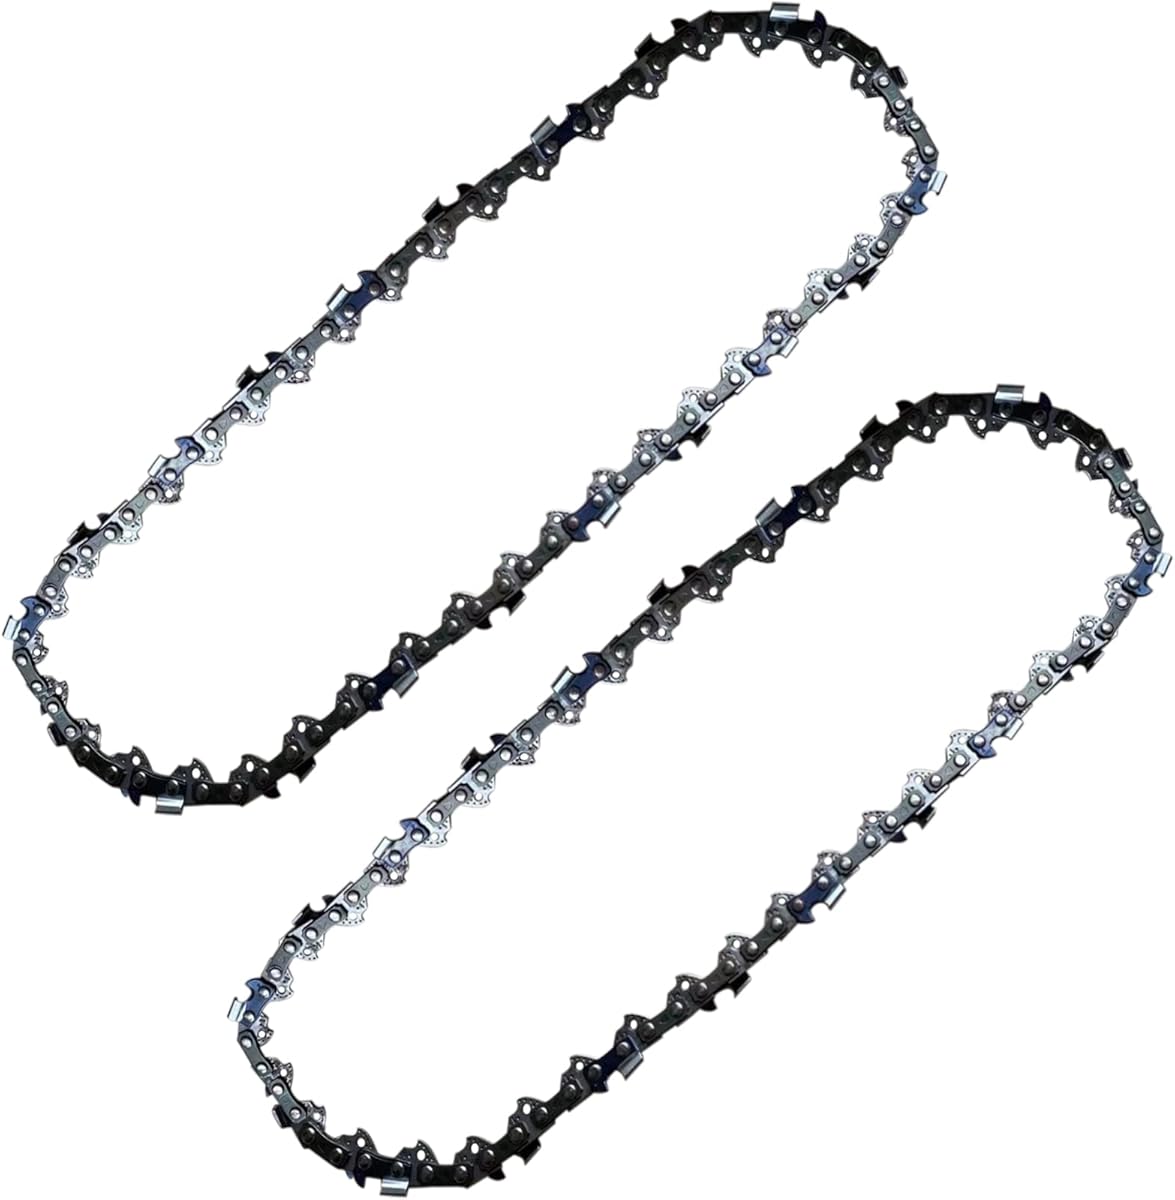
If your current chain has been repeatedly run loose, it may be permanently worn beyond what proper adjustment can fix. In that case, replacing it is usually the best move. When replacing, stick with the exact pitch, gauge, and drive link count recommended for your saw and bar.
Inspect the Guide Bar for Wear That Prevents Proper Tension
If the tensioner seems to work but the chain still won’t stay snug, look closely at the guide bar. Worn bars are a very common hidden cause.
Focus on these areas:
Bar slot and mounting area
The slot where the bar studs pass through can wear wider over time. When that happens, the bar can creep backward under load even if the nuts feel tight. That immediately loosens the chain.
Look for:
- Elongated stud slots
- Burrs around the slot edges
- Shiny movement marks near the mounting area
Bar rails
Worn rails let the chain sit lower or lean side to side. That affects how tension feels and can make the chain appear loose even after adjustment.
Check for:
- Rails that are uneven in height
- Mushroomed rail edges
- A groove that has widened beyond chain gauge spec
Bar nose sprocket
If your bar has a sprocket nose, make sure it spins smoothly with no wobble. A failing nose sprocket creates drag and heat, which can accelerate chain stretch.
Oil delivery hole and groove cleanliness
Packed sawdust and old oil can interfere with lubrication. An under-oiled chain gets hot fast and loosens repeatedly.
Clean the bar groove with a groove tool or thin scraper, clear the oil holes, and flip the bar periodically to even the wear. If the bar slot is badly worn or the rails are out of shape, replacement is the durable fix.
Diagnose a Stripped or Failing Chain Tensioner
This is another issue that comes up often in owner forums: the tensioner screw turns, but nothing happens, or the chain tightens briefly and then loosens right back up. That usually points to a stripped adjuster, damaged tension pin, or misinstalled bar.
Depending on the saw, the tensioner may be side-access, front-access, or built into a quick-adjust system. Regardless of style, inspect these points:
- Tensioner screw threads for stripping
- Adjuster pin to see if it still engages the hole in the bar
- Plastic adjuster housings for cracking
- Quick-tension mechanisms for worn cams or stripped knobs
Remove the clutch cover and bar, then turn the adjuster and watch whether the pin travels in and out smoothly. If the screw spins without moving the pin, the adjuster is worn out. If the pin is bent or partially sheared, it may slip under load and let the bar move back.
Also make sure the bar is installed correctly on the adjuster pin. If the pin misses the adjustment hole during assembly, the chain may seem tensioned at first but won’t hold once cutting starts.
On many homeowner saws, the adjuster is a relatively inexpensive service part. If the screw is stripped, replacing the full adjuster assembly is usually more reliable than trying to patch it.
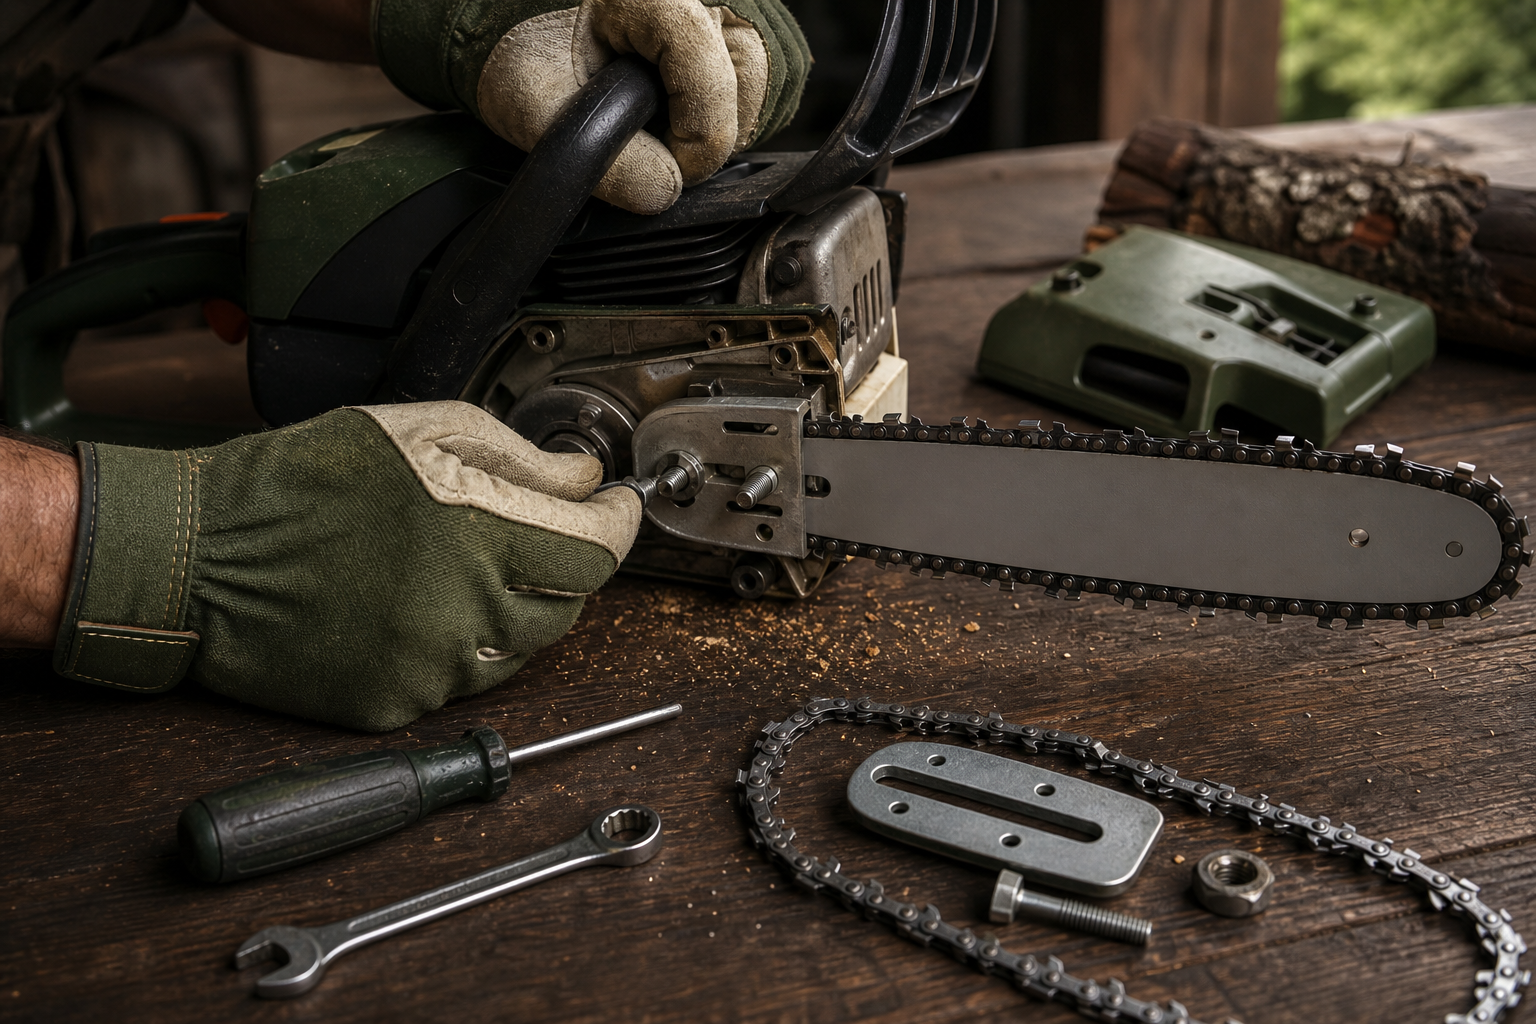
If the Bar Clamp Isn’t Holding, Check the Clutch Cover, Studs, and Nuts
When owners say “the bar clamp isn’t holding,” they’re usually talking about one of three failures: weak clamping force from loose bar nuts, damaged studs, or a clutch cover that no longer sits flat.
Here’s how to check it:
-
Inspect the bar nuts and studs
If the nuts bottom out before clamping tightly, or if the stud threads are damaged, the cover may feel snug without truly locking the bar in place. -
Look for stripped threads in the crankcase
On some saws, the bar studs thread into the crankcase or a captive insert. If those threads are pulling out, the bar will creep under load. -
Check the clutch cover for warping or damage
A bent cover won’t clamp evenly. Resin buildup behind the cover can cause the same problem. -
Clean the mounting surfaces thoroughly
Packed chips, oily sawdust, and burrs can prevent full contact between the bar, cover, and saw body. -
Tighten to firm, even torque
Don’t overtighten to the point of stripping hardware, but the nuts must be secure enough that the bar cannot slide backward in the cut.
If the bar still shifts after proper tightening, mark the bar position lightly with a paint pen near the case, make a few cuts, and inspect whether it has moved. If it has, the problem is definitely in the clamping system rather than the chain itself.
Watch: Video Walkthrough
FAQ
Why does my chainsaw chain get loose so fast after sharpening?
A freshly sharpened chain may cut more aggressively and heat differently than before, especially if depth gauges were lowered. But fast loosening after sharpening usually means the chain was already worn, got too hot from poor lubrication, or was not retensioned with the bar nose lifted.
Can I keep tightening a chain that has stretched a lot?
Only up to a point. If you’re running out of adjustment range, or the chain develops uneven slack, damaged links, or obvious rivet wear, replace it. An over-worn chain won’t run safely or cut straight.
Should I replace the bar and chain together?
Not always, but it’s often smart if both are worn. A new chain on a badly worn bar won’t hold tension well and may wear prematurely. If the bar rails, groove, slot, or nose sprocket are worn, replacing both together gives the best result.

Find the right part on Amazon
Check price, stock and fitment — ships direct from Amazon.
§ Parts